Assembling DAVEGA X
These instructions are valid for the new 2021 kit. The old assembly instructions are still available here.
The 2021 kit has been made simpler and can now be assembled with only basic tools and no soldering. Assembling the kit is fun and will give you a good sense of achievement.
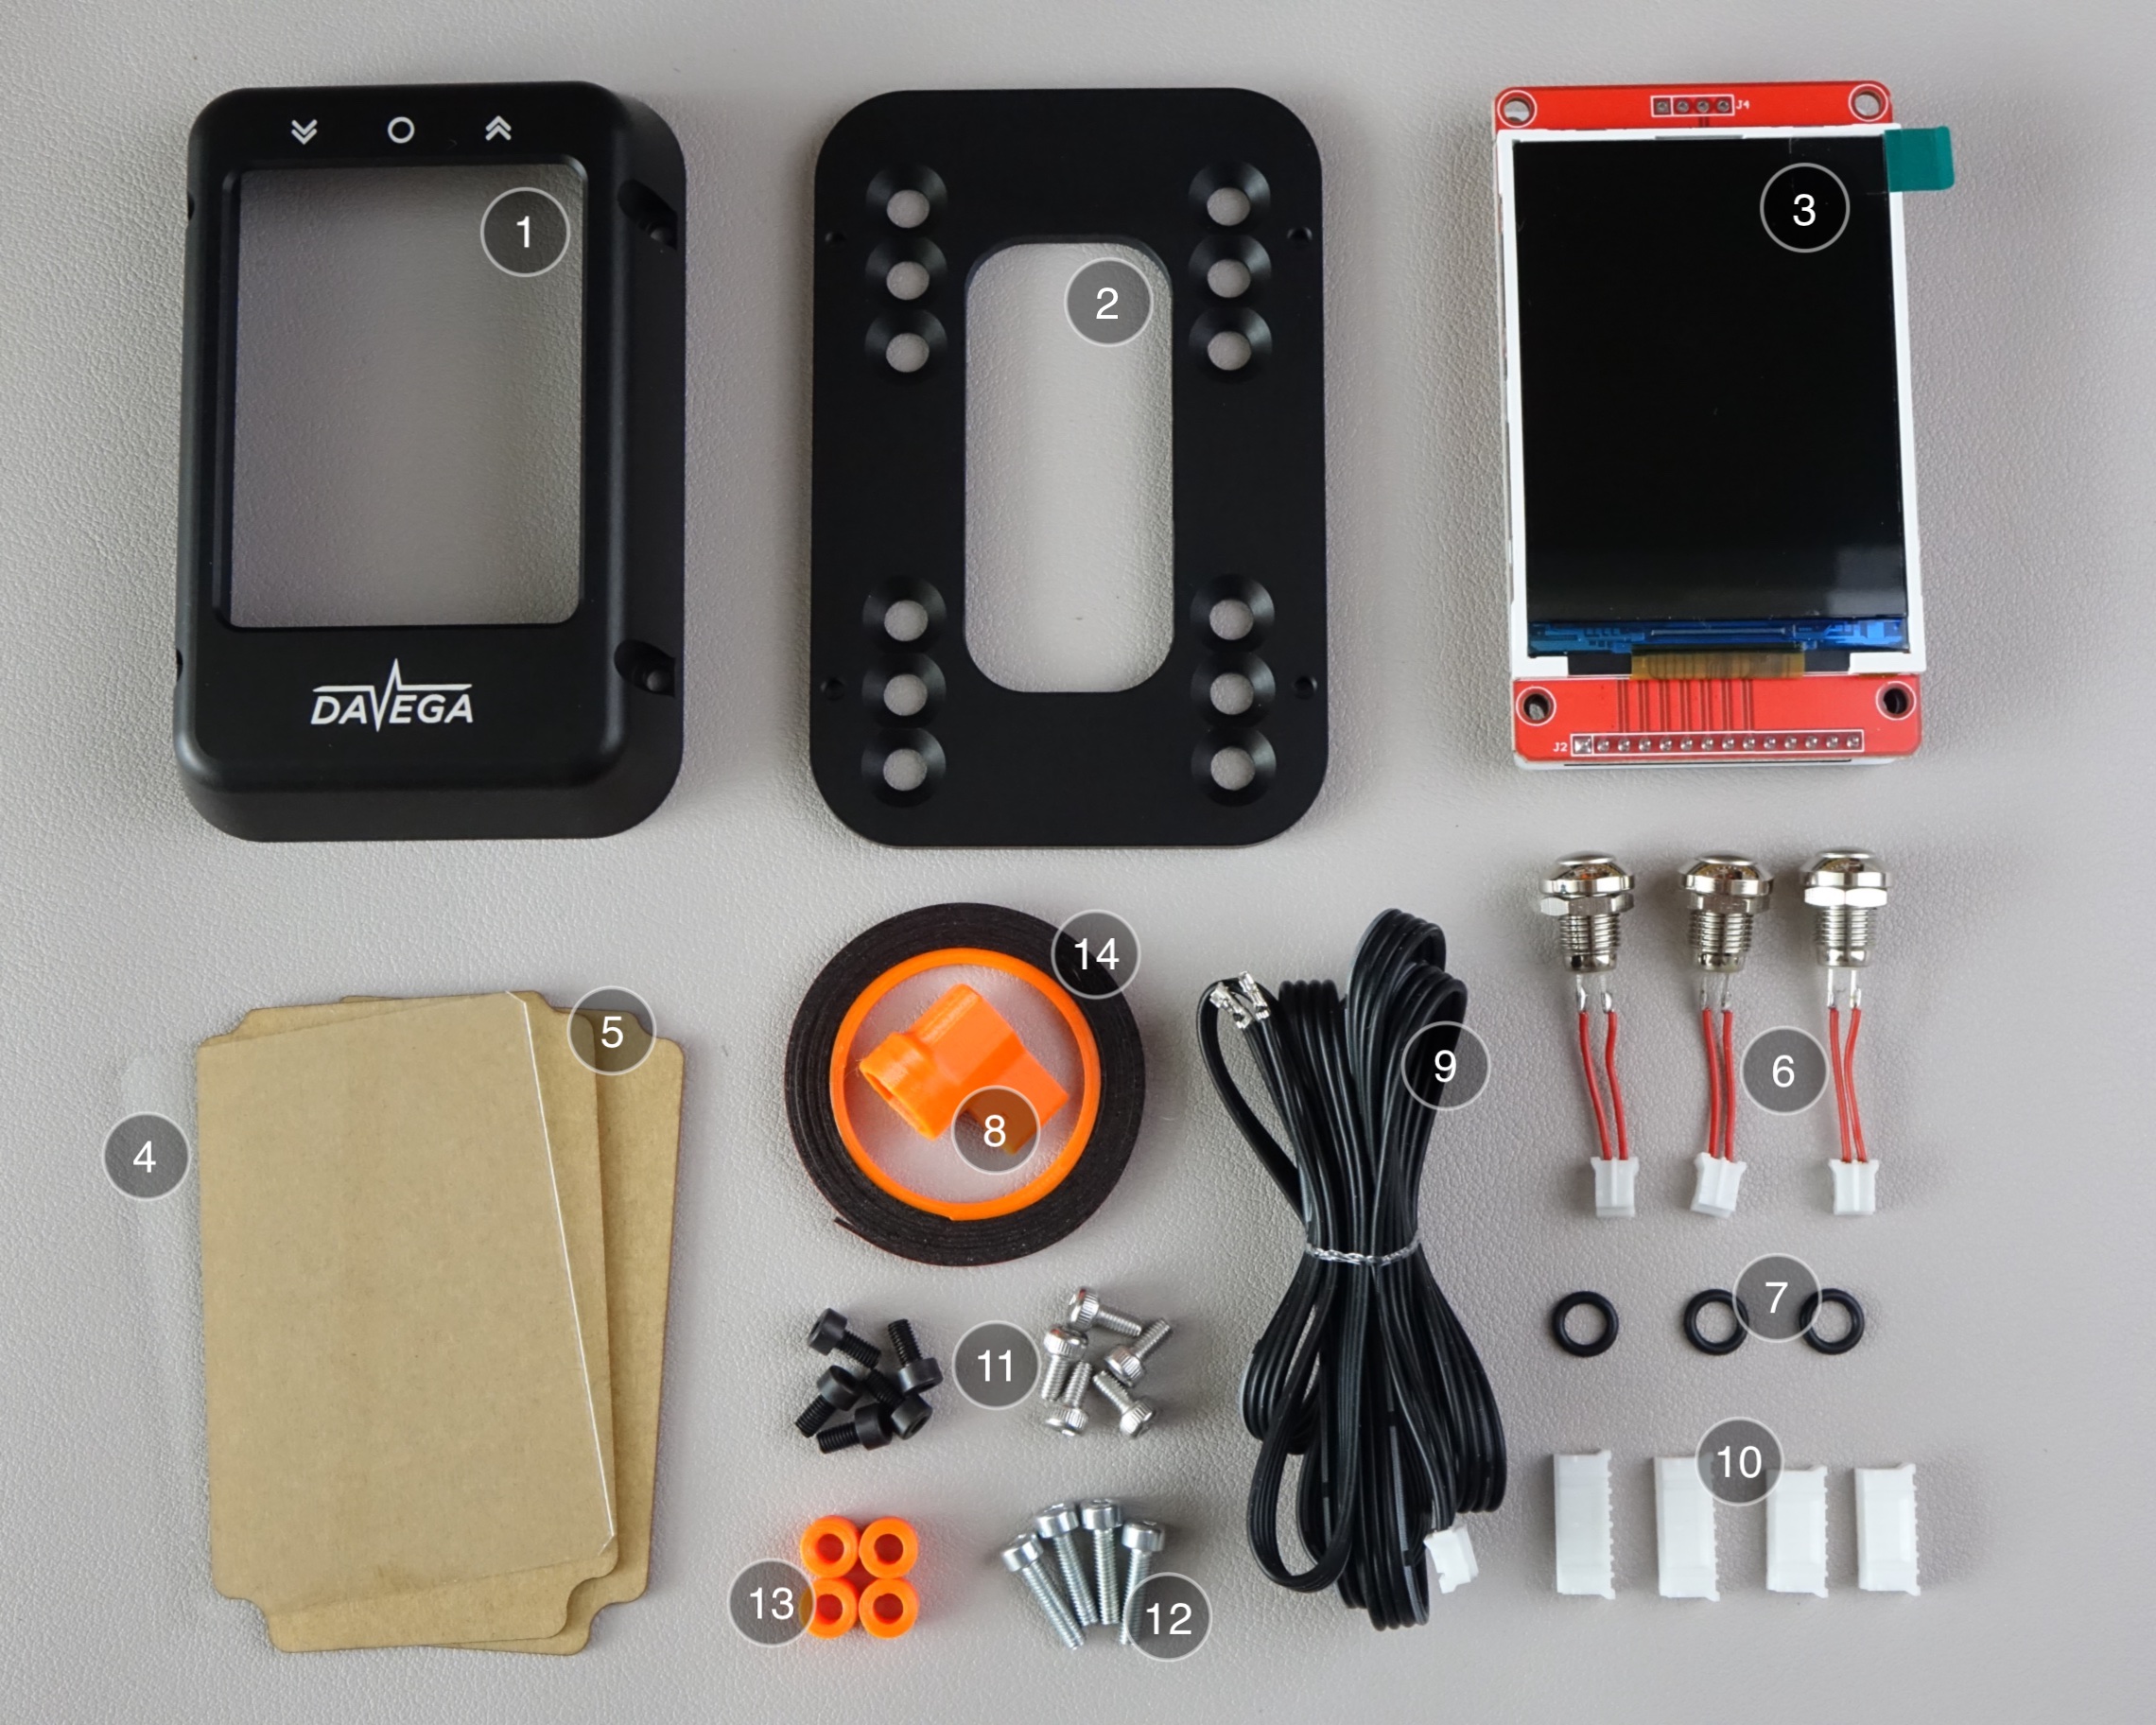
Kit contents:
- aluminum housing
- aluminum baseplate
- DAVEGA X electronics
- glass screen protector
- acrylic screen protectors (2pcs)
- buttons with pre-soldered connectors (3pcs)
- rubber o-rings for the buttons (3pcs)
- 3D printed 10mm wrench
- ribbon cable with silicone rubber insulation
- JST-PH connectors: 7P (2pcs) and 8P (2pcs)
- M3x6mm bolts: stainless steel (5pcs) and blued steel (5pcs)
- M3x12mm stainless steel bolts (4pcs)
- M3x5.5 spacers (4pcs)
- double sided rubber tape
Required tools:
- 2.5mm Allen key
- scissors
- tweezers
Recommended tools and accessories:
- small flat-head screwdriver
- fine brush (e.g. a lens brush)
- compressed air can
Gummy bears
The DIY kit comes with a pack of Haribo bears. If you have ever assembled the Prusa 3D printer kit, you know the drill. After completing each part of the assembly you get to treat yourself with some bears.
Remember, careful planning and discipline is the key! Installing the electronics, in particular, can get frustrating if you end up with an ugly looking dust particle between your display and your screen protector, and you have to take a step back to clean it up. Make sure you have enough gummy bears left for that part!

Assembly overview
This video will give you a good idea about what the assembly process involves. We recommend that you watch it first. The next videos cover the assembly in more detail and provide useful tips.
Part 1: Rubber tape
Key takeaways:
- Keep as close to the edge as possible but do not go over.
- In the corners go in small steps and keep the tape slack.
- Do not leave any gap between the two ends of the tape.
Part 2: Buttons
Key takeaways:
- Don't forget to put on the o-rings.
- The orientation of the connectors is important.
- The nuts must be positioned with the flat spots facing up and down.
Part 3: Screen protectors
Key takeaways:
- The glass protector is generally a better option.
- Only use the acrylic protector if you plan to ride in extreme conditions or jump.
- The orientation of the acrylic protector is important.
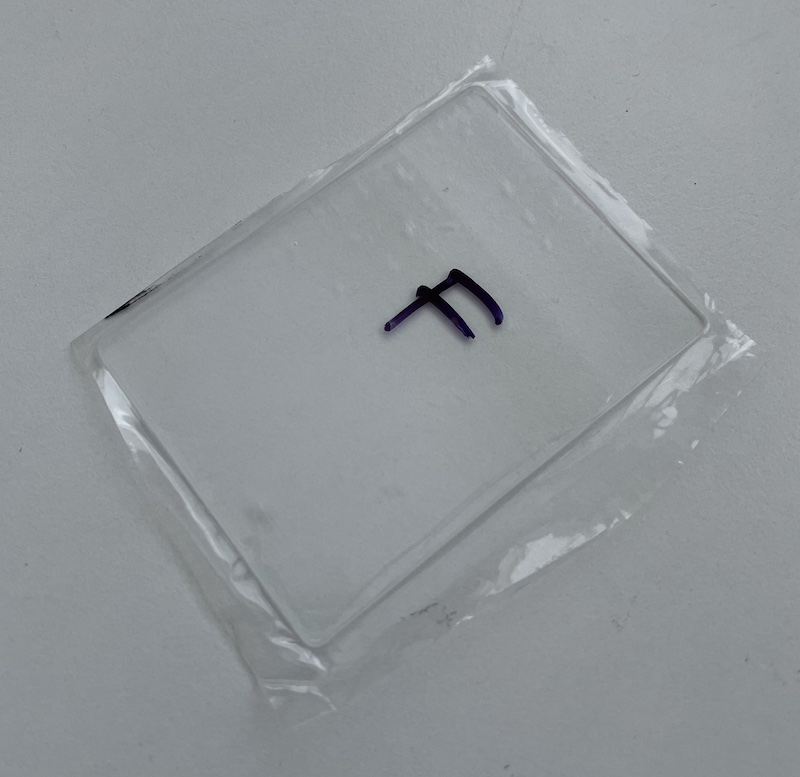
Update (23 October 2023): The kits have been updated with new glass screen protectors with anti-reflective (AR) and anti-fingerprint (AF) coating. The AR coating is applied on both sides. The AF coating is only applied on the side marked F. It's recommended to install the protector with the AF coated side facing outside. The AF coating helps keeping the protector clean.
Part 4: Electronics
Key takeaways:
- Don't forget to use the spacers.
- Do not over-tighten the bolts.
- Loosen the bolts if you see any distortions on the display.
Part 5: Cable setup
The video pre-dates the DAVEGA v1.2, which is powered from 5V rather than from 3.3V. Other than that, the content remains valid.

Key takeaways:
- Never connect DAVEGA v1.1 to 5V input!!!
- RX/TX wires can be swapped with FW v4.04 or later.
Installation
Please see the user guide for how to setup your VESC® and for tips on installing the DAVEGA X on your board.
Ryan's walk-through
If you would rather watch someone who knows how to use a camera and can pronounce "rubber o-ring" without getting his tongue twisted, here's a very nice assembly walk-through by Ryan Berardelli.