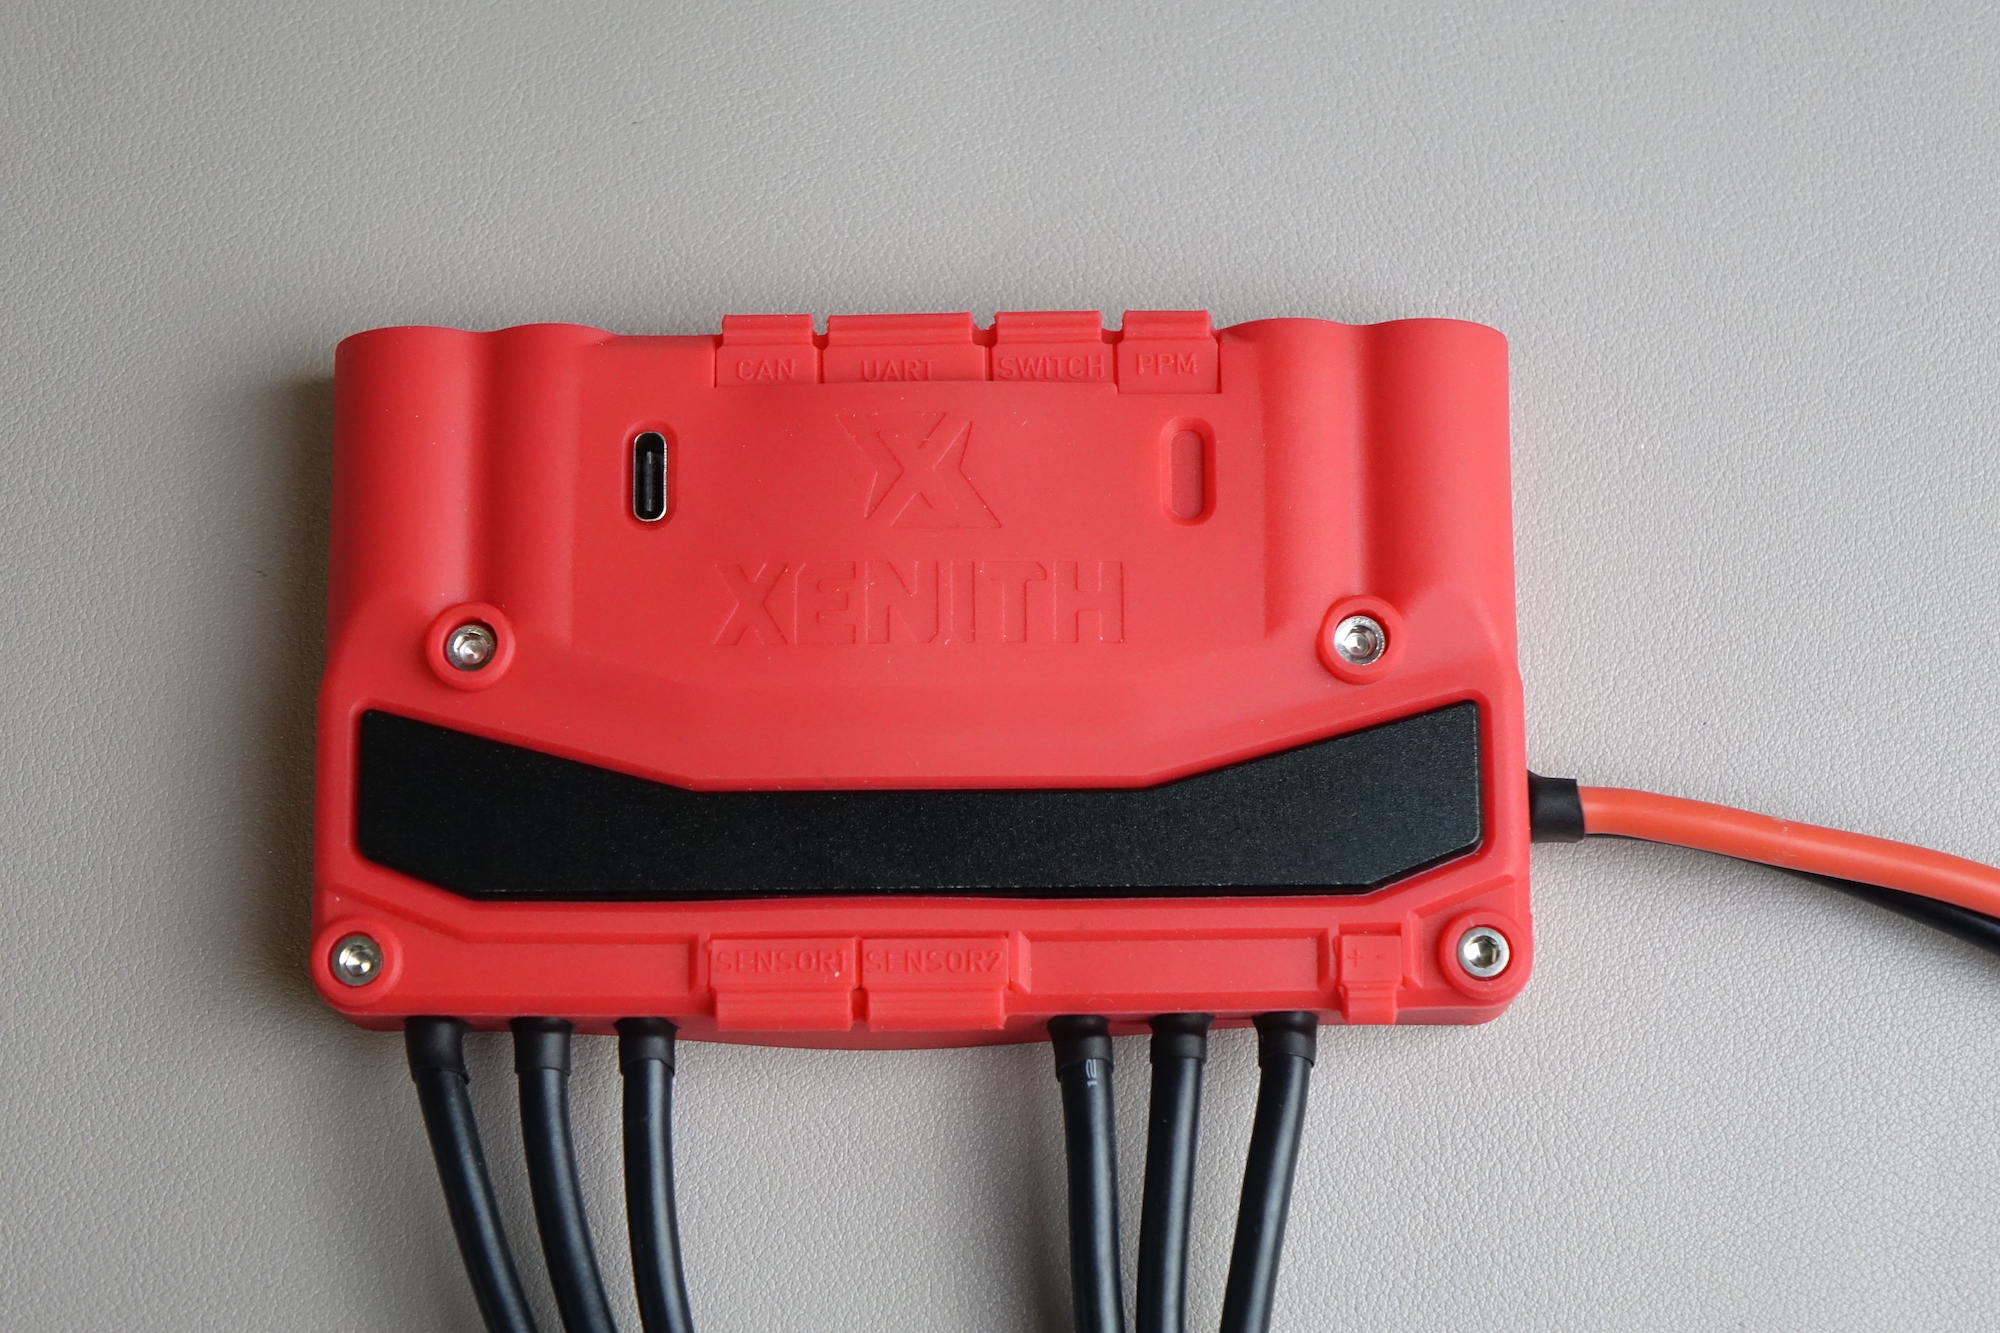
BKB Xenith Setup

Installation and setup
- Installation — These instructions are specific to the BKB Duo board. However, most of the steps are generally applicable and installation on any other board will be very similar.
- Setup — How to setup the Xenith using the Easy UI.
Warranty form
We strongly advice you that you complete the BKB warranty form after you have finished your Xenith installation. You will need pictures of your build.
If you complete the form, BKB will be able to notify you should your installation look unsafe. Please take a few minutes to do this for your own protection. Incorrect installation may void your warranty, and, more importantly, may lead to an injury.
Even if you are an experienced builder and you are confident about the installation, we still highly recommend that you complete the form since it will put you in a much better position in case of a warranty claim. If you encounter a hardware failure while using the Xenith and you haven't completed the warranty form previously, making a claim will require shipping the Xenith back for inspection.
DAVEGA X compatibility
The Xenith comes pre-installed with the firmware v23.46. Note that this firmware is not supported by the latest DAVEGA X firmware. The compatibility was dropped in the v4.02. See the changelog for details.
There are currently two ways to make the DAVEGA X work correctly with the BKB Xenith:
- Downgrade the DAVEGA X firmware to v4.01 (recommended). To do this, hold the middle button while the DAVEGA is booting up in order to enter the menu. Then setup the WiFi connection and perform the downgrade under Update & Backup.
- Install the FW v5.x on the Xenith. This is NOT recommended due to issues that haven't yet been fully addressed in the FW v5.x. Use at your own risk.